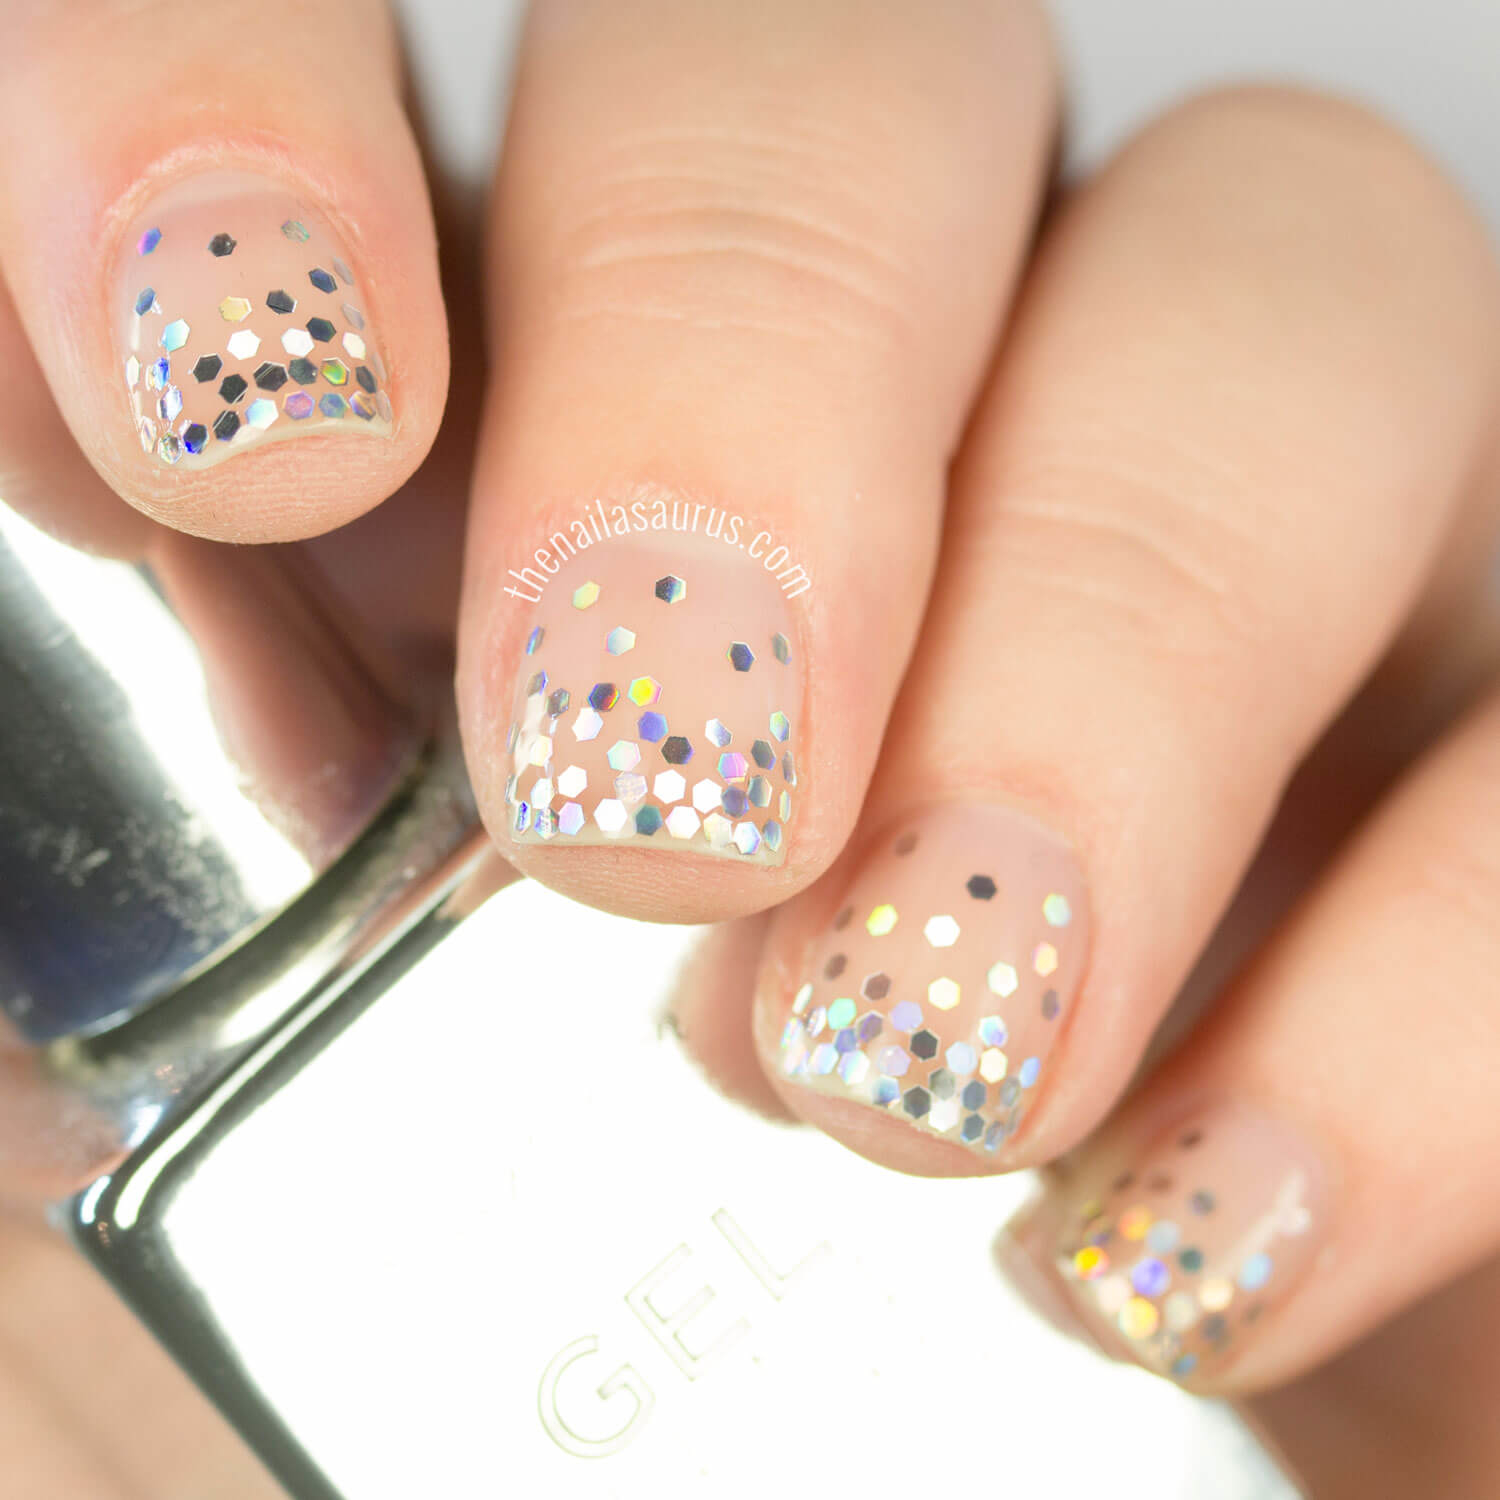
I’ve seen a few publications writing about ‘Glitter Tears Nail Art’ as if it were a new trend making the rounds. I just wanted to go on record to set things straight – nail artists were doing it long before Glitter Tears were a thing. No shade… just giving credit where it’s due!
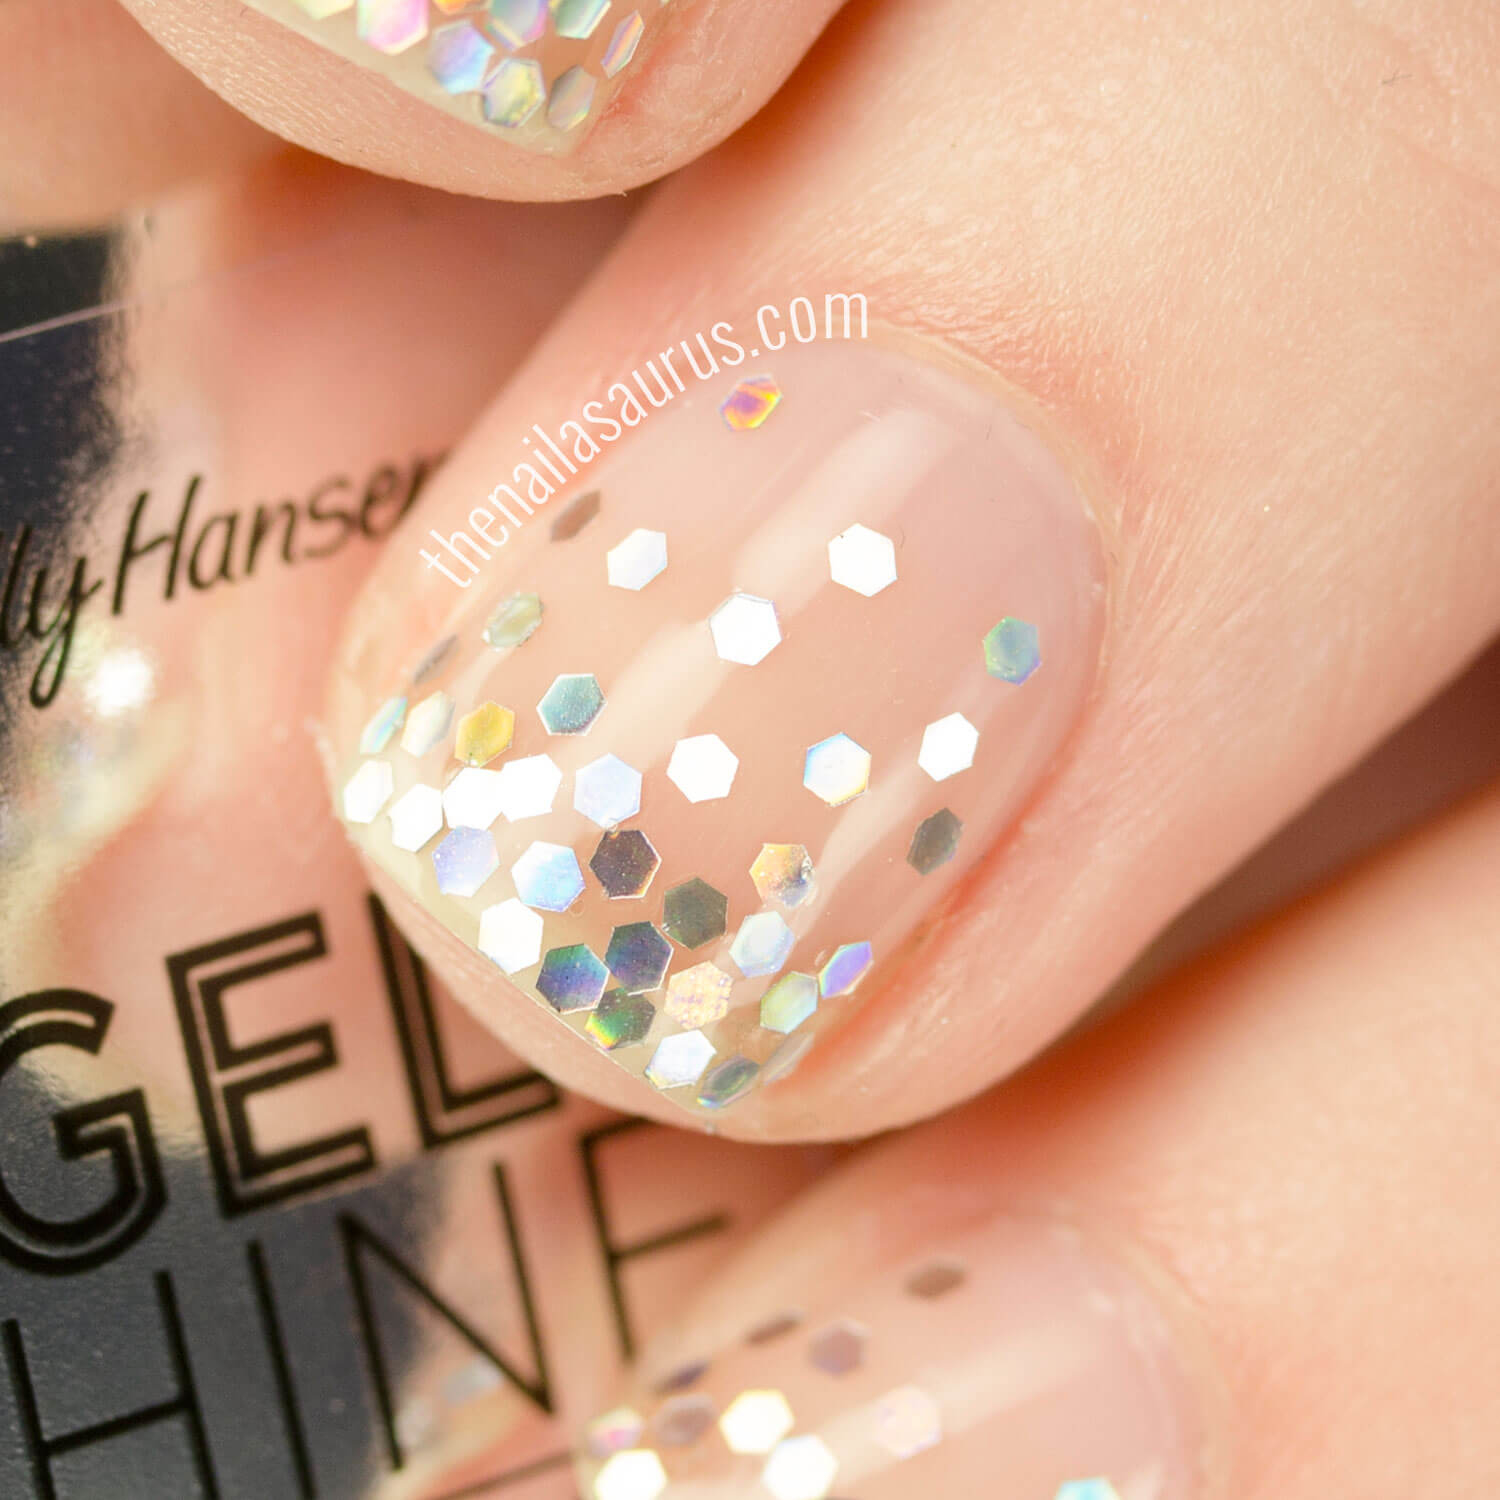
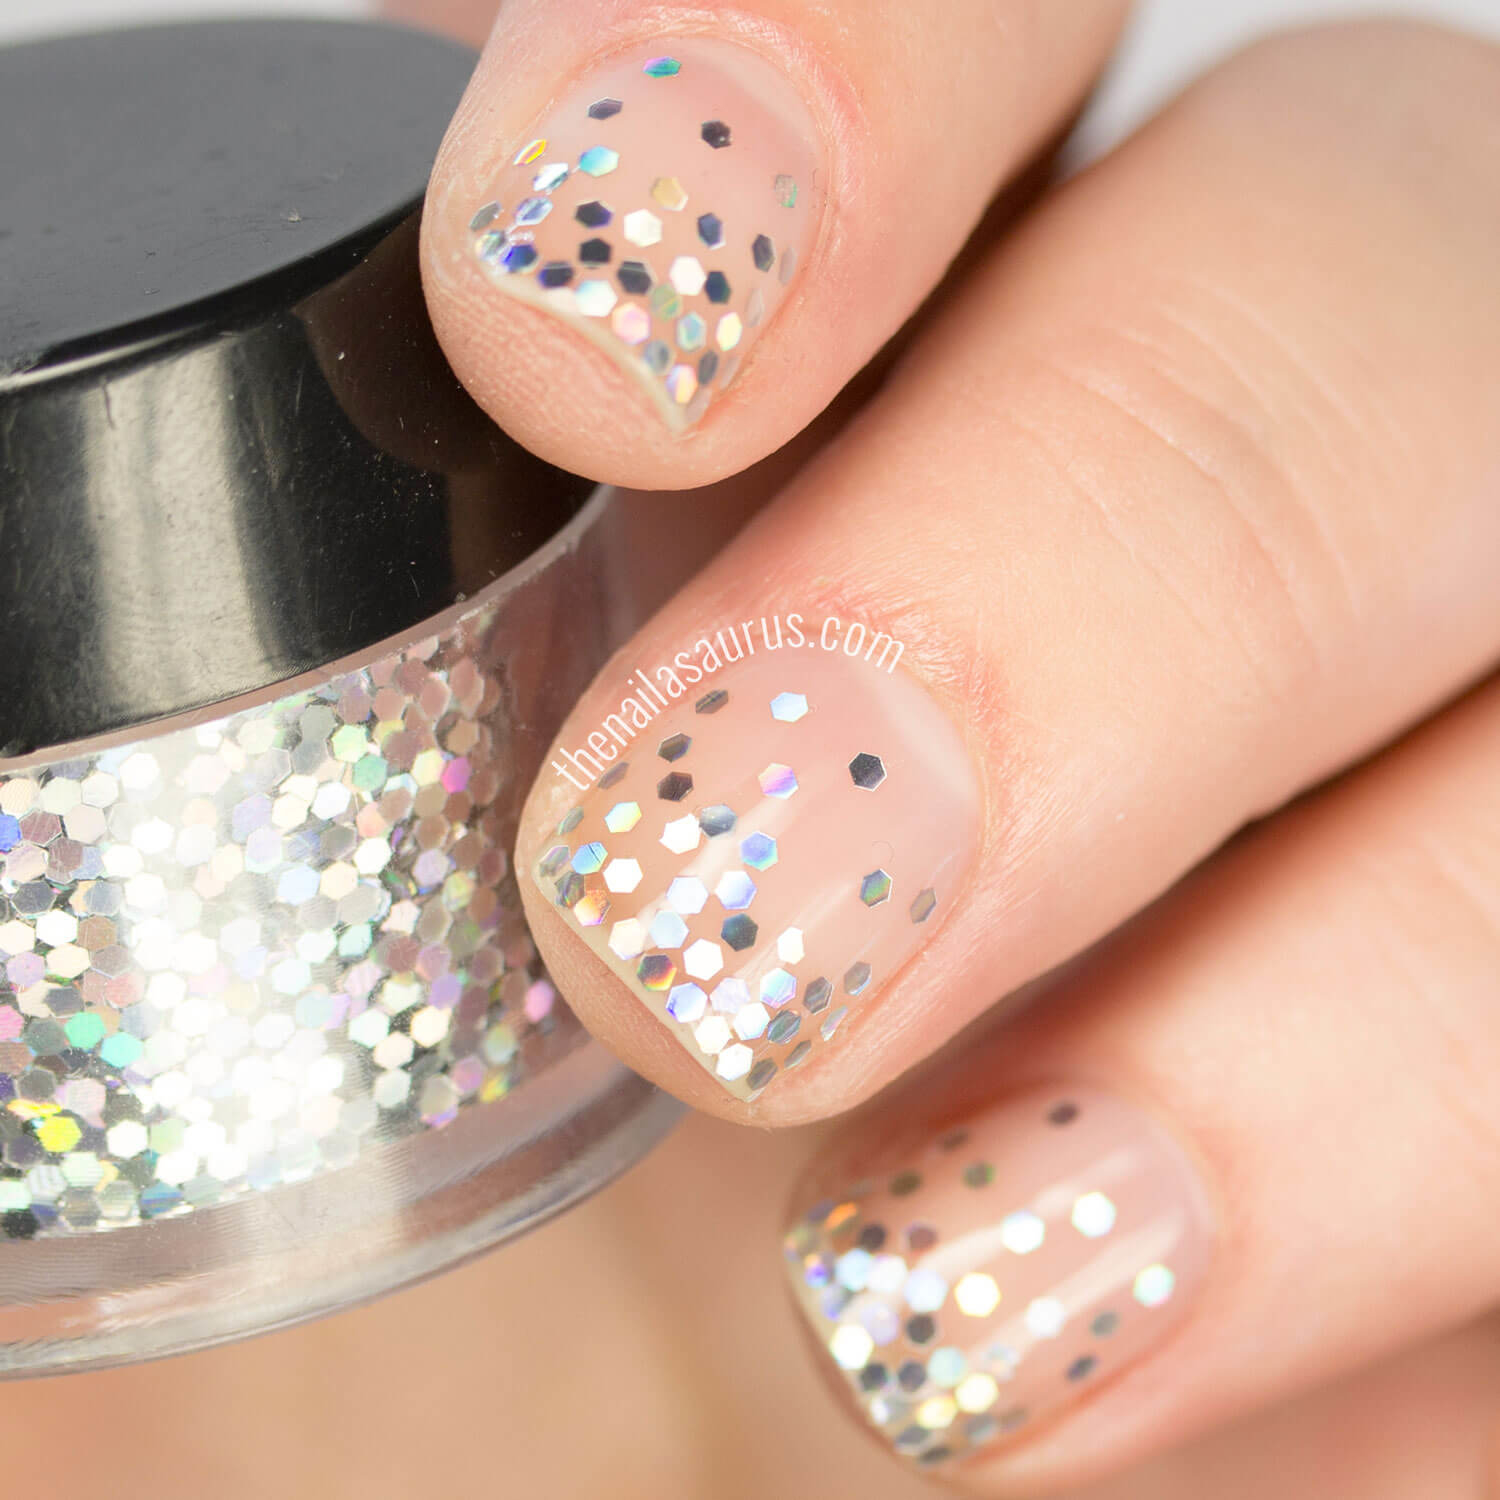
It’s really just your classic glitter gradient on a blank base i.e. no base colour, just clear polish. Calling it a trend is a little… reductive. It’s one of the oldest tricks in the book and will always be in style.
This particular take on the look is inspired by Hannah Rox it who has the tutorial up on her YouTube channel.
Now I know what you’re thinking – and yeah, of course it takes a really long time! I had to place every piece of glitter individually. But that’s half the fun of it if you’re an anally retentive perfectionist like myself, right?
In all, the whole hand took less than 45 minutes and I was distracted by Gilmore Girls on in the background so I think I could do it in 25 if I was concentrating. There is an easier way to get the look – read on for more.
How to do the Nail Art
1. Apply your usual base coat.
2. Find a clear polish or top coat that isn’t a quick dry polish – the longer it stays wet, the longer you have to attach the glitter.
3. Using something pointy (I use toothpicks), pick up your pieces of glitter one at a time and start at the tip of your nail. Place them in a falling pattern – with more coverage right at the tip, using less as you get close to the cuticle.
4. If the clear coat on your nails dries before you finish, just apply another or dab on the spots where you need it most.
5. Finish with a couple of layers of top coat. I’d recommend using quite a thick top coat to really smooth over the glitter chunks.
The Hack
If you want to get the look in half the time, all you need is your favourite glitter polish and a makeup wedge.
1. Apply a clear base coat.
2. Paint a little glitter polish on to the edge of your sponge and dab it straight on to the tip of your nail.
3. Keep dabbing gently (but never drag/swipe) and take it halfway down your nail to create the fade.
4. Finish off with a few layer of top coat to smooth things over.
A Few Tips
Practice on falsies first and try to have patience. Practice makes perfect!
If you’re going to use the sponge hack, use a fine glitter
HAVE FUN! Have you seen the glitter options flooding stores lately? The possibilities are literally endless!
Products Used
OPI Nail Envy base coat
Hexagonal Holographic glitter / glequins from Born Pretty Store (Option #1)
NYC Classy Glassy Top Coat (Slow-ish Drying)
Seche Vite Top Coat (Fast Dry)


0 Comments